Small Kitchen Island Ideas: Is There Room for One?
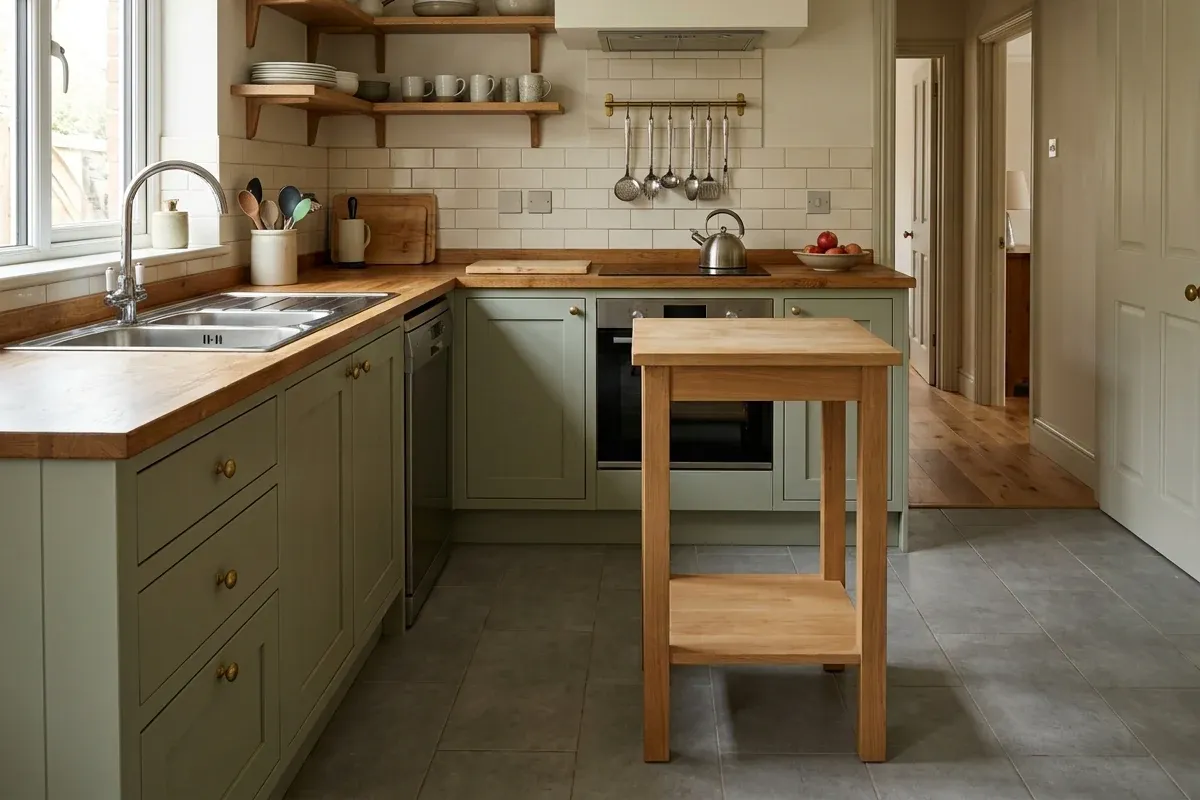
A small kitchen may have room for an island, but an empty patch of floor is only the starting point. The useful question is whether the island can do its job while you open the surrounding storage, use the appliances and move through the room.
Start with one purpose: preparation, storage or seating. Then compare a permanent island, a movable option and leaving the center open. This guide helps you make that first feasibility decision using your room's measurements. It does not certify an installation or recommend a particular product.
Choose the job before the shape
Write down what you would use the island for during an ordinary meal. Be specific: a place for a chopping board, storage for serving pieces, or somewhere to eat breakfast. Adding all three at once makes it harder to tell which feature deserves the space.
| Idea to investigate | What to put on the plan | Reason to reconsider |
|---|---|---|
| A narrow island devoted to preparation | The complete top and base, your working position and access to nearby equipment | The available top would not accommodate the task you chose |
| An island with storage but no seating | The whole unit plus its doors or drawers fully open | Reaching the new storage would block something you already use |
| A movable preparation unit | Working position, parking position and route between them | There is nowhere practical to park it during cooking or cleanup |
| An island with seating | Top, seats occupied and pulled out, and the route behind them | Seating and essential movement need the same space at the same time |
| No island | The existing preparation and storage locations | Keep this option if the proposed island creates more interference than useful space |
These are planning options, not claims that every narrow unit or cart is suitable. If you have not yet identified the problem, use a starting plan for improving a small kitchen first.
Draw the room as it exists
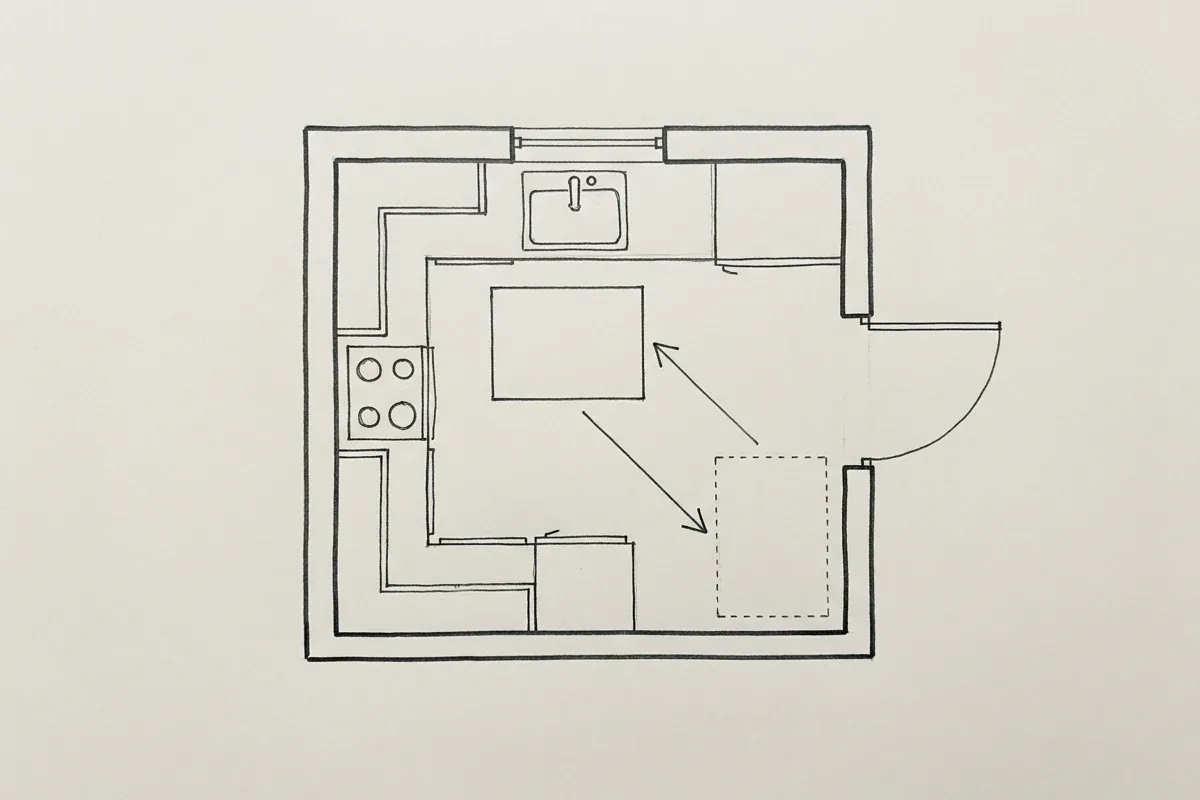
Make a top-down sketch at a consistent scale, with measured dimensions labeled. Include walls, entrances, fixed cabinets, counters and appliances. Record projections such as handles separately so they do not disappear into a simple cabinet rectangle. Note any radiator, column or other obstruction beside the proposed position.
Measure the spaces between the actual surfaces facing the island. A wall-to-wall room measurement does not describe the floor remaining between two cabinet runs.
Next, draw the proposed island's complete outline. For a product, use the exact version's manufacturer dimensions and assembly information, including the top, overhangs, projecting fittings and any deployed extension. If the documentation leaves a projection unclear, ask the supplier before treating the footprint as verified. For a built-in design, use its dimensioned proposal.
Keep each measurement's endpoints written beside it. Across a straight section of the room, the accounting is:
Space between opposing existing surfaces = gap on one side + island depth + gap on the other side.
Use your measured values. Repeat the check where a projection changes the gap, and along the island's length to check both ends. Moving the island toward one side changes the space available on the other; it does not create extra room overall.
Use clearance guidance with its context
The NKBA's publicly available Kitchen Planning Guidelines with Access Standards recommends work aisles of at least 42 inches for one cook and 48 inches for multiple cooks, measured between counter frontage, tall cabinets and/or appliances. It separately recommends a 36-inch walkway. These describe different uses of space. NKBA guidelines 6–7.
This is an older edition referencing 2015 codes and ICC A117.1–2009; NKBA now lists a fifth edition. Treat the cited figures as attributed planning guidance, not current legal requirements or a universal island-fit test. NKBA edition information.
Read an attributed dimensioned example
On printed page 8, NKBA's upper walkway diagram marks 36 inches between the left wall and the island's left edge. Printed page 6 separately illustrates work-aisle gaps around an island. Neither drawing supplies a complete room size or island specification. They are educational planning illustrations, not a measured Mavelloft kitchen. NKBA dimensioned walkway example.
On your sketch, label what each gap must accommodate: work, through-traffic, access to storage or seating. Do not apply the walkway figure to a work aisle simply because it is smaller. Where functions overlap, evaluate them together. A recommendation for an empty aisle does not answer whether you can load an appliance there.
Add openings and the person using them
Draw a second layer over the proposed layout. Mark the sweep of hinged doors and the full extension of drawers, including the island's own storage. Use measurements from existing items or exact documentation for proposed ones. Do not assume a standard door depth or drawer travel.
IKEA's March 2026 kitchen installation guide specifically discusses allowing doors and drawers to open fully in its cabinet planning. That supports checking the opening, rather than only the closed cabinet face; its installation details remain specific to that system. IKEA guide, printed page 7.
Now walk through the tasks on paper:
- Dishwasher: show its full opening—whether a lowered door or a pulled-out drawer—and where you would stand to load it. Can you still reach the sink and the storage used when unloading?
- Refrigerator: account for the door opening and any internal drawer you need to pull out. Check the exact appliance documentation for the required opening conditions.
- Oven: mark the open door and your position when using it. Keep the model's operating and installation requirements with the plan.
- Cabinets and island storage: check the open front, your position and anything directly opposite.
- Room entrance and walkway: trace the route someone takes through the kitchen while those tasks happen.
The US Access Board's ADA provisions illustrate why the user space matters: section 804.6.3 requires an open dishwasher door to leave the dishwasher's and sink's clear floor space unobstructed. That provision applies within the ADA standards' scope; it is not a blanket rule for private kitchens. The planning lesson here is to draw both the opening and the person using it. Access Board kitchen provisions.
For a detailed record of existing conflicts, use checking kitchen doors, drawers and everyday access. Here, the decision is whether adding the island preserves the access you need.
Give a movable island two real positions
For a movable option, repeat the whole check in its working position and its parking position. Include the route between them. Name when you would move it and what would already be open or occupied at that moment.
If the plan depends on moving the unit whenever you open the dishwasher, decide whether that routine is acceptable before buying. If the only parking position blocks a doorway or needed storage, the movable option has not resolved the conflict.
Before selecting a product, confirm that its documented intended use matches your task. Check the exact instructions for assembly, any locking mechanism, anchoring and use limits. This guide makes no claim about a cart's stability or locking performance. Wheels or a freestanding label alone are not enough evidence to recommend it as a preparation island.
Record the result: continue, revise or leave the center open
Use one of three outcomes:
- Continue planning: the measured outline and task checks support further investigation. Take the drawing and exact product documents to the supplier or designer before committing to a fixed installation.
- Revise the proposal: remove seating, change the dimensions or position, or investigate a movable option with a verified parking place. Repeat the affected checks.
- Leave the center open: the added surface or storage would take space needed for daily use. A no-island decision is a useful result.
If the answer requires changing the room's wider arrangement, compare small kitchen layout approaches. If reserve food storage prompted the island idea, consider pantry options when there is no separate pantry before assigning food to a new piece of furniture.
Keep installation and applicable requirements as a separate final check. Have the appropriate local authority or qualified professional establish what applies to your building and proposed work, including accessibility needs. A sketch that avoids collisions is useful evidence for that conversation; it is not approval to build.